Manufacture of an Aluminium replacement Vintage Fraser Nash Racing Car Radiator
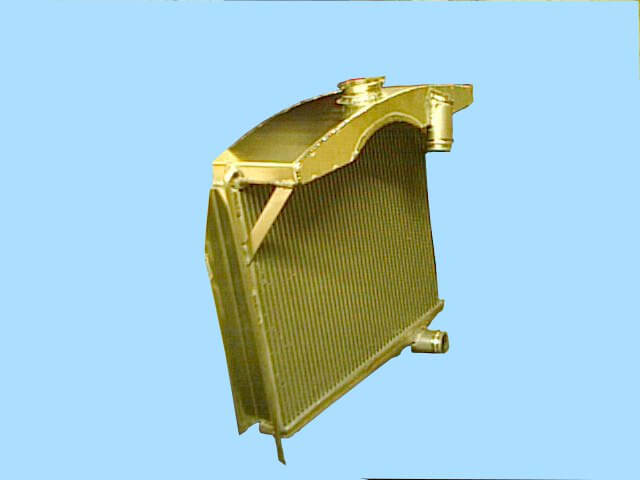
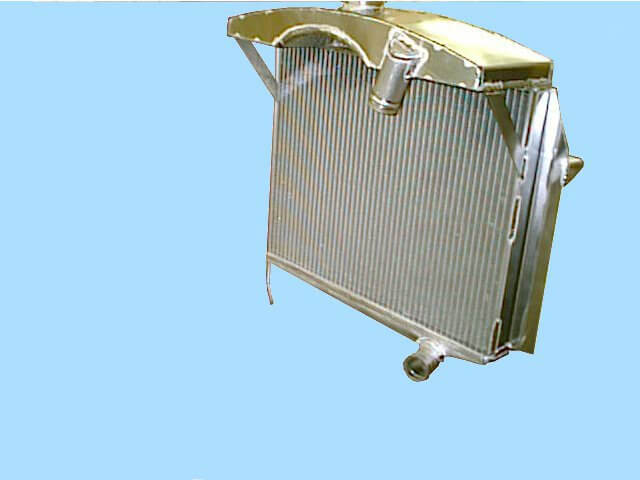
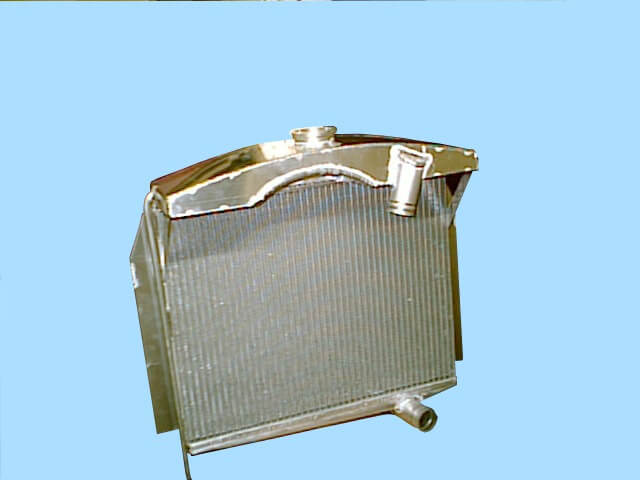
A local vintage racing car stable sent us an old Fraser Nash single seater racing car radiator. He requested that we recreated the copper and brass existing radiator in TIG welded aluminium for a weight reduction and efficiency gain. This we agreed to do and the following is the method we adopted:
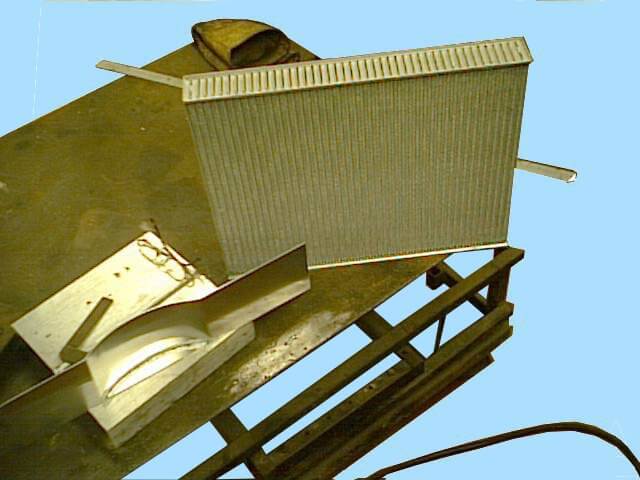
Detailed measurements were taken from the old sample radiator given to us for size matching and an aluminium core was manufactured in the sizes taken from the sample.
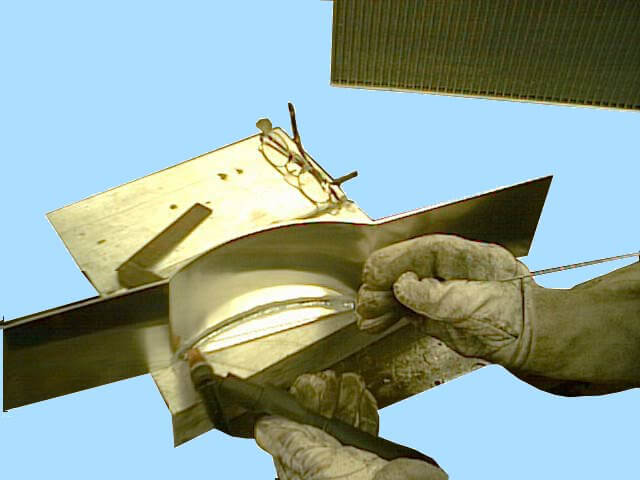
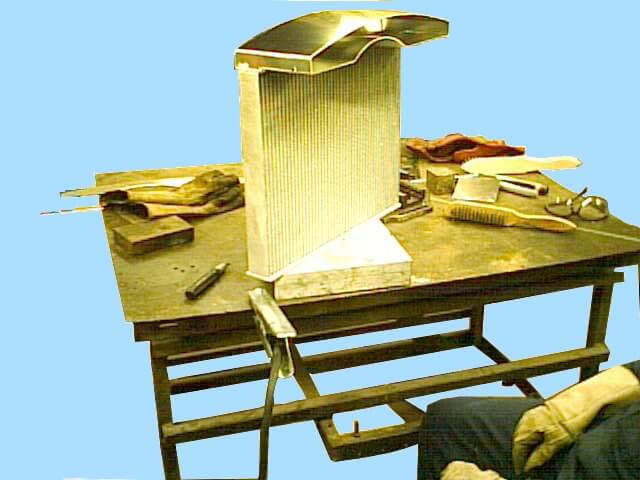
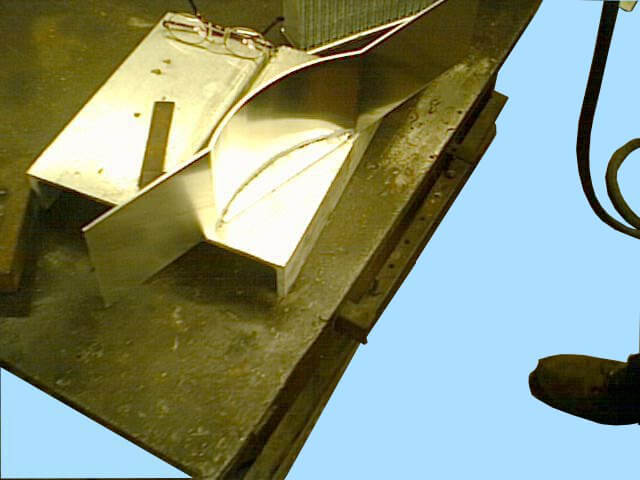
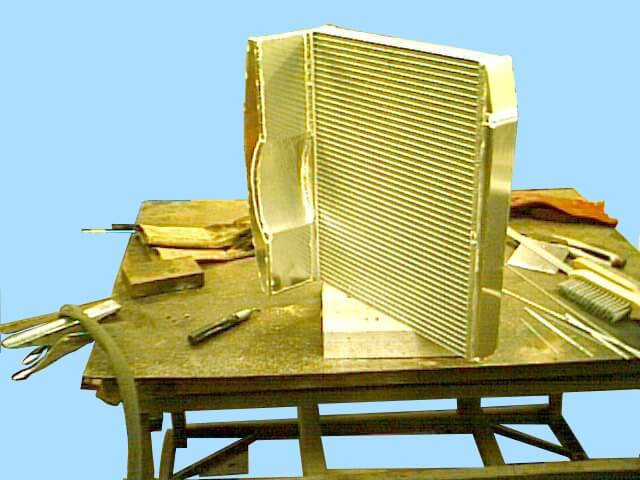
An oblong piece of aluminium sheet was cut and had a half radius rolled into the centre of it.
This was in fact the rear overhang of the radiator top tank. The radius is to allow the fan to run close to the core without striking the bottom of the overhanging top tank. A half moon plate was welded into the back of the top tank radius to give a coolant water seal.
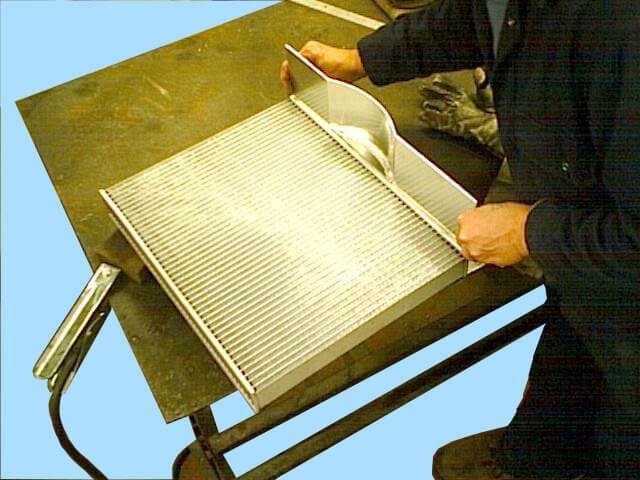
The core and the overhang were then prepared for fitting together.
They were checked for alignment and fitting.
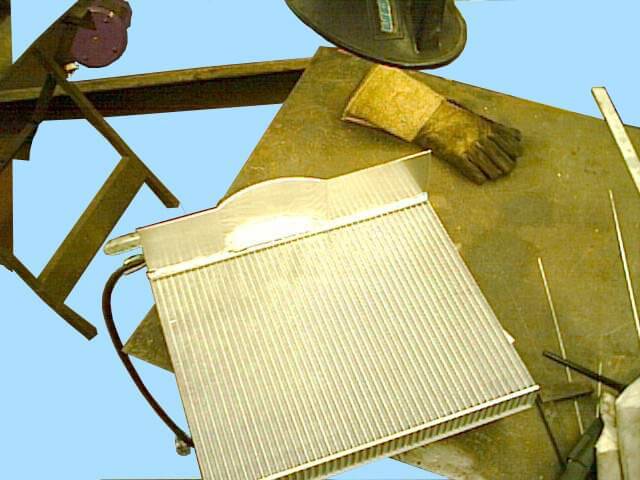
The overhang was then TIG welded to the back face of the radiator core.
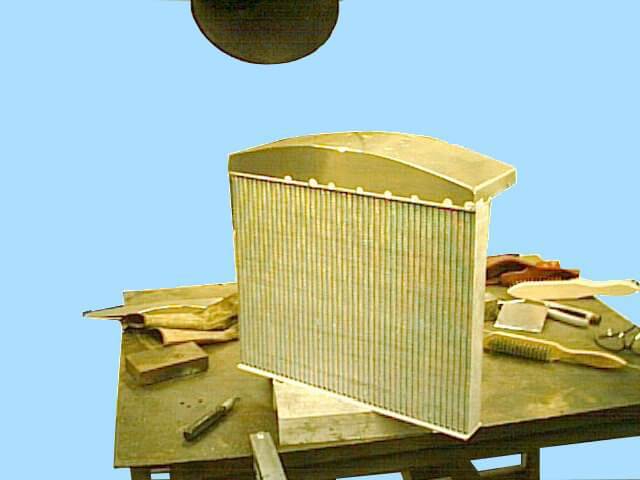
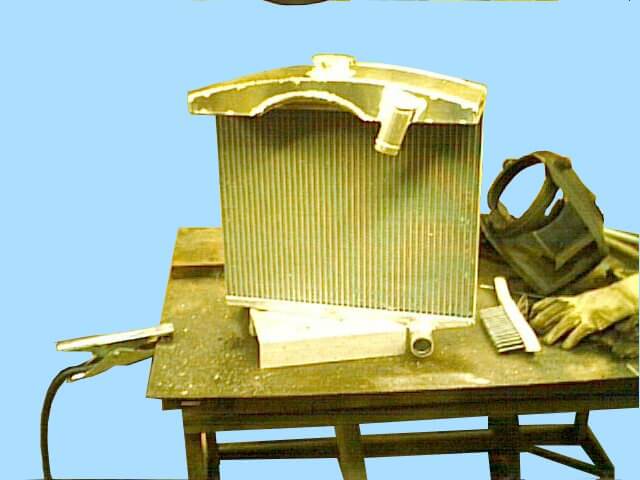
The top tank was cut, folded and radiused from a sheet of aluminium and welded to the top overhang.
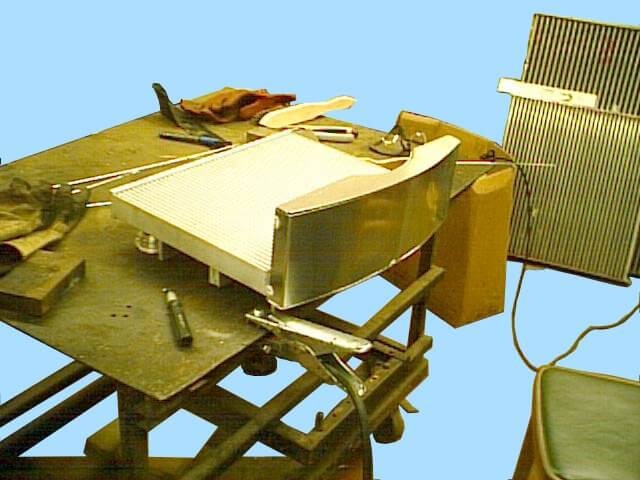
The crescent shaped front of the top tank was manufactured and welded onto the radiator.
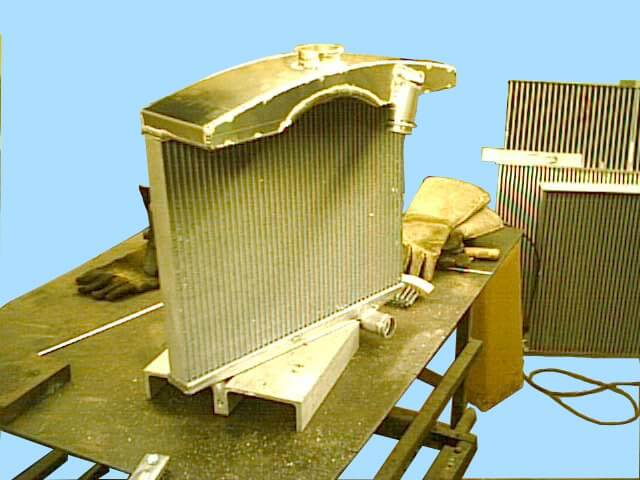
Followed by the crescent shaped rear of the top tank being manufactured and welded onto the radiator.
The bottom water tank was cut and folded to shape then welded onto the radiator core.
A hole was cut into the top centre of the top water tank and the water filler was fitted.
The top inlet and bottom outlet were cut to size and swages were rolled into the tubes. Holes were cut into the radiator top and bottom tanks and the inlet and outlet tubes were tacked on.
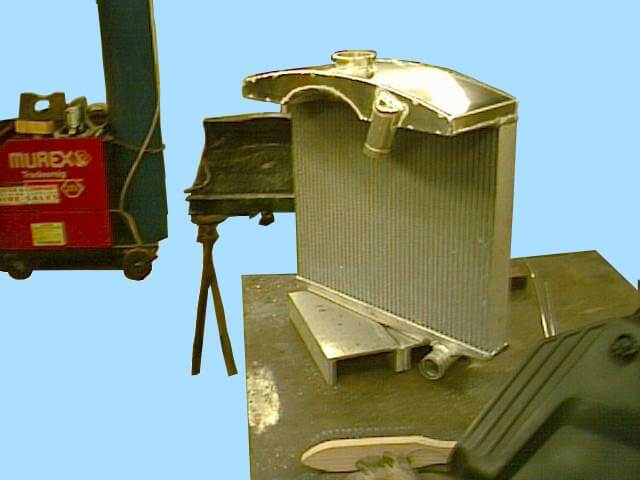
The water tube alignment was checked against the old sample radiator and then fully TIG welded.
The interim check of all dimensions was carried out between the sample radiator and the new aluminium radiator.
A pair of aluminium side columns were manufactured and fitted to the radiator. Two support webs were made and fitted between the top tank overhang and the side columns to beef up and generally strengthen the radiator. Finally, a water level overflow pipe was fitted to the left side of the top tank and down the left side column.
The unit was pressure tested with air underwater and a final measurement check was taken. All that remained then was for the radiator to be thoroughly cleaned and a light buff to accept the etch primer and black radiator paint.
The black paint was requested by the customer and was done to retain an appearance of originality on the radiator.
In other instances, the aluminium is given a higher level of protection in the manufacture and the unit is buffed and polished to a mirror finish.

